

Start here
Picking the Right Spot
Next
Preparing Your Soil
Then
Choosing What to Grow First
When you're ready
Planting, Watering, and Staying on Top of It
Finish line
Getting to Harvest
Picking the Right Spot
Before you buy a single seed, walk your yard at different times of day and notice where the sun actually lands. Most vegetables need at least six hours of direct sunlight, so shady corners under trees are out. A flat or gently sloped area is preferable - low spots tend to hold water and can drown roots.
Keep the plot close to a water source. Dragging a hose across the yard sounds minor until you're doing it every other day in July. Proximity to the house also means you'll actually walk out and check on things.
For a first garden, aim for something modest - a 4×8-foot bed is a common starting point. It's large enough to grow a real variety of food and small enough to stay manageable. You can always expand next season once you know what you're doing. If you're weighing whether to dig into the ground or build a raised structure, our guide on raised beds vs. ground planting walks through the trade-offs honestly.
Preparing Your Soil
Soil is the foundation of everything. Poor soil can defeat even the most enthusiastic gardener. Before planting anything, loosen the top 10-12 inches of earth with a garden fork or spade and remove rocks, roots, and clumps of sod.
Work in a generous layer of compost - roughly 2 to 3 inches mixed through - to add organic matter, improve drainage, and feed the soil's natural biology. If you don't have compost yet, bagged compost from a garden center works fine for year one. For a longer-term approach, starting a compost pile in your backyard is more economical and reduces kitchen waste at the same time.
Avoid the temptation to compress or over-till the soil. You want it loose enough that a finger presses in easily - that texture allows roots to spread and water to move through evenly.
Compost
Decomposed organic material - like food scraps and yard waste - that improves soil structure and adds natural nutrients plants can use.
Direct sow
Planting seeds directly into the garden bed rather than starting them indoors or buying pre-grown transplants.
Transplant
A young plant started elsewhere (indoors or in a nursery) and then moved into the garden once it's large enough to handle outdoor conditions.
Mulch
A layer of material - straw, wood chips, or shredded leaves - spread on the soil surface to hold in moisture, moderate temperature, and reduce weeds.
Last frost date
The average date in spring after which freezing temperatures are unlikely in a given location. Planting warm-season vegetables before this date risks frost damage.
Full sun
A growing condition where a spot receives at least six hours of direct, unobstructed sunlight each day - required by most fruiting vegetables.
Choosing What to Grow First
The biggest beginner mistake is planting too many different things. Pick three to five crops you'll actually eat, and focus there. The following are genuinely forgiving for newcomers:
- Zucchini and summer squash - fast-growing and very productive, sometimes overwhelmingly so
- Bush green beans - direct-sow into the ground, low maintenance, ready in about 50-60 days
- Cherry tomatoes - more disease-resistant than larger varieties and produce reliably
- Lettuce and salad greens - quick to grow, can tolerate partial shade, and you harvest a little at a time
- Cucumbers - vigorous growers once established, especially in warm weather
If your schedule doesn't allow daily attention, low-maintenance plant options gives an honest look at what genuinely tolerates some neglect. As your confidence grows, you might also explore companion planting - pairing crops that support each other - to get more out of a small plot.
Planting, Watering, and Staying on Top of It
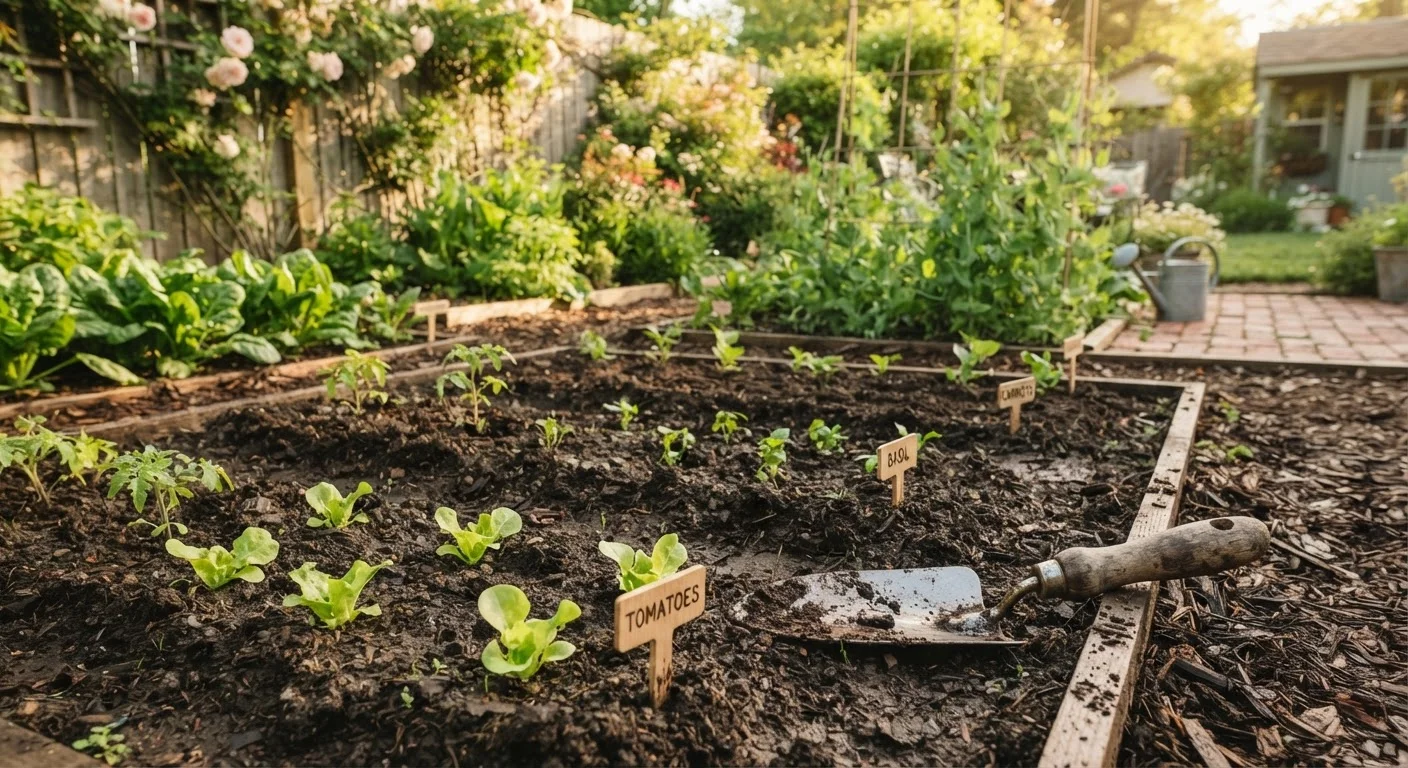
Follow spacing guidelines on seed packets or plant tags - crowded plants compete for light and airflow, which invites disease. As a rule, give each plant a little more room than feels necessary. Label what you plant so you remember what's growing where.
Water deeply rather than frequently. Shallow daily watering keeps roots near the surface where they're vulnerable to heat and dry spells. Aim for water to reach 6 inches into the soil; test this by digging a small spot a few hours after watering. Most gardens do well with about one inch of water per week from rain and irrigation combined.
Mulching between plants - using straw, wood chips, or shredded leaves - helps retain soil moisture and suppresses weeds, which means less work for you. Pull weeds when they're small; large ones rob your vegetables of water and nutrients.
Mulch Before You Need It
Lay a 2-3 inch layer of mulch around your plants shortly after planting - don't wait until the soil dries out. Mulching early keeps moisture in from the start and gives weeds far less opportunity to get established. Straw and shredded leaves both work well and are inexpensive to source.
If you want to reduce the watering burden long-term, setting up a drip irrigation system is worth looking into after your first season - it saves water and is gentler on plants than overhead spraying.
Getting to Harvest
Harvest regularly and on time. Leaving vegetables on the plant past their peak signals the plant to stop producing. Zucchini picked at 6-8 inches keeps the plant churning out more; left to balloon, one oversized squash can slow everything down.
Most vegetables are best picked in the morning when temperatures are cooler. Check plants every couple of days once they start producing - things move faster than you expect in midsummer.
When you do bring food in, use it soon. Fresh garden produce doesn't have the shelf life of store-bought. Roasting is one of the simplest and most satisfying ways to use a mixed harvest - our first-timer's guide to roasting vegetables makes it straightforward. And at the end of the season, take a few notes on what grew well, what didn't, and what you'd plant differently - that reflection is worth more than any gardening book for your second year.
Frequently Asked Questions
Most vegetables need at least six hours of direct sunlight per day. Leafy greens like lettuce and spinach can tolerate a little less, but fruiting crops like tomatoes and peppers need full sun to produce well. Track your yard's light before committing to a spot.
No. A hand trowel, a garden fork or spade, and a watering can or hose with an adjustable nozzle will cover most first-year needs. You can add tools gradually as you learn what tasks you actually do regularly.
Timing depends on your local climate and the crops you choose. In most of the US, warm-season vegetables go in after the last frost date for your area. Cool-season crops like lettuce and peas can go in earlier. Your local cooperative extension office publishes planting calendars for your region.
Starter plants (transplants from a nursery) are easier for beginners and reduce the time to harvest. Seeds cost less and give you more variety choices, but they require more attention early on. Many first-timers start with transplants for tomatoes and peppers, and direct-sow easier crops like beans and squash.
Most vegetable gardens need about one inch of water per week, either from rain or irrigation. Deep, infrequent watering encourages roots to grow downward, which makes plants more resilient. Stick your finger two inches into the soil - if it feels dry, it's time to water.
Eating them fresh is the easiest option. You can also share extras with neighbors, freeze many vegetables after blanching, or use them immediately in cooking. See our <a href="/food-and-eating/cooking-basics/from-raw-to-rested-a-first-timers-guide-to-roasting-vegetables">roasting guide for vegetables</a> for simple ways to use your harvest.
The content on this site is for informational purposes only and is not a substitute for professional advice. Always consult a qualified professional for guidance specific to your situation.