

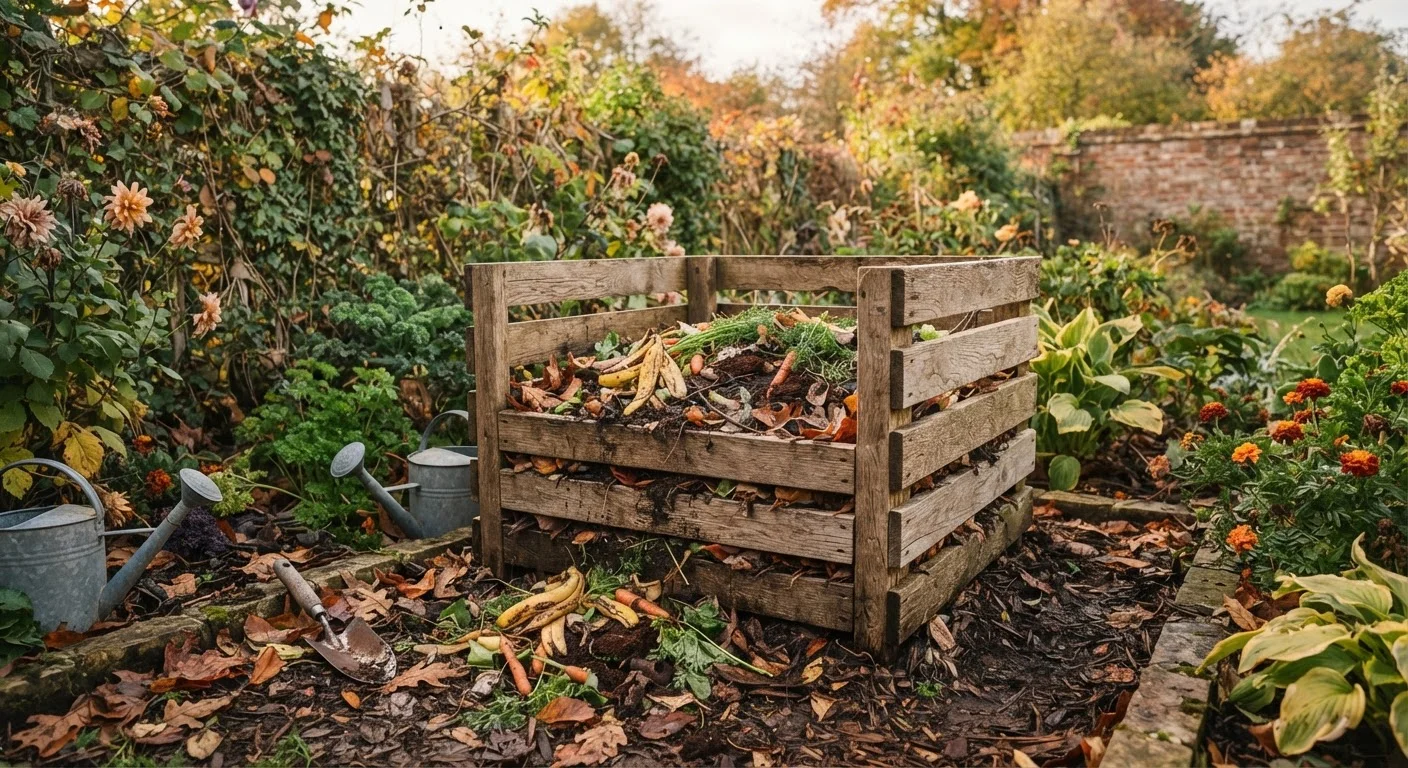
Why Small Yards Are Actually Fine for Composting
The idea that composting requires a sprawling property is a common misconception. A functional pile can fit in a space no bigger than a recycling bin. What matters far more than square footage is the ratio of materials you add, how often you give the pile some attention, and whether you keep a few problem ingredients out of it.
If you're already growing vegetables or working with raised beds, a compost pile is a natural next step - it turns kitchen and yard waste into free, high-quality organic matter that improves almost any soil. See our guide to starting a first vegetable garden if you're still figuring out where your plants will go, and our raised beds vs. ground planting overview for help thinking through your garden layout.
Below is everything you need to get a pile started - what to add, what to leave out, and how to keep it from becoming a problem.
Compost bin or wire cage
Keeps the pile contained and tidy, which matters even more in a small yard.
Garden fork or pitchfork
Used to turn and aerate the pile so it breaks down evenly.
Watering can or hose
Adds moisture when the pile dries out - it should feel like a wrung-out sponge.
Kitchen scrap container with lid
Collects vegetable peels and coffee grounds indoors until you're ready to add them to the pile.
Compost thermometer
Helps you confirm the pile is heating up and actively decomposing - useful but not essential.
What to Add, What to Skip
Compost materials fall into two broad categories:
- Browns (carbon-rich): Dried leaves, cardboard, straw, paper bags, wood chips, sawdust from untreated wood
- Greens (nitrogen-rich): Vegetable and fruit scraps, coffee grounds, fresh grass clippings, plant cuttings, tea bags (check for plastic mesh first)
Keep These Materials Out
Never add meat, fish, bones, dairy products, or greasy foods to a backyard compost pile. These attract pests like rats and raccoons and create serious odor problems. Pet waste and diseased plant material should also be left out, as they can introduce pathogens into finished compost you plan to use on edible gardens.
A few things that sometimes surprise people: hair and nail clippings are fine to add (nitrogen-rich), as are paper towels and tissues as long as they weren't used with chemical cleaners. Citrus peels and onion scraps are safe in moderation despite old advice to the contrary - in reasonable quantities, they break down fine.
At the end of the growing season, your pile is a great destination for spent annuals, vegetable plant debris, and fallen leaves. Our end-of-season garden prep checklist covers exactly what yard waste is worth saving versus tossing.
Speed Things Up With a Simple Trick
Chop or shred material before adding it to the pile. Smaller pieces give microorganisms more surface area to work on, which can cut your composting time significantly. A pair of garden shears or a quick run through a lawnmower on a tarp works well for leaves and plant trimmings.
Following the Steps
The steps below walk you through setting up and managing your pile from scratch. None of them require special skills - composting is fundamentally a natural process you're just giving a little help.
Choose your spot and container
Pick a location that gets partial shade - full sun dries the pile out too fast, and deep shade slows decomposition. A corner of the yard, along a fence line, or against a garage wall all work. Aim for flat, well-drained ground so excess moisture doesn't pool underneath.
For a small backyard, a purchased plastic bin with ventilation holes or a simple DIY wire cage (made from hardware cloth or chicken wire formed into a cylinder about 3 feet across) keeps things contained without taking up much room.
Lay a base layer of browns
Start with a 4- to 6-inch layer of coarse, carbon-rich material - often called 'browns.' Dried leaves, straw, torn cardboard (without glossy coating), wood chips, or shredded newspaper all qualify. This base layer improves airflow from the bottom and gives early decomposers something to work with.
Add greens and layer as you go
'Greens' are nitrogen-rich materials: vegetable and fruit scraps, coffee grounds and filters, fresh grass clippings, plant trimmings, and eggshells. Add them in layers roughly 2 to 3 inches thick, alternating with browns in a 3:1 ratio - three parts browns to one part greens by volume. This balance is the single biggest factor in keeping a pile odor-free.
Keep moisture levels in check
The pile should feel about as damp as a wrung-out sponge - moist throughout but not dripping. If it's too dry, decomposition slows to a crawl; too wet and the pile can become anaerobic (oxygen-deprived), which causes the sulfur-like odor that gives composting a bad reputation. After rain, no extra watering is usually needed. During dry spells, give the pile a light watering every few days.
Turn the pile regularly
Use a garden fork to mix the pile once every one to two weeks. Move material from the outer edges to the center - those cooler outer zones decompose more slowly and need heat from the interior. Turning also introduces oxygen, which keeps beneficial aerobic bacteria active. A pile that's turned regularly will produce finished compost noticeably faster than one left undisturbed.
Harvest and use your finished compost
Finished compost is dark brown, crumbly, and smells like fresh earth - not like rotting food. Depending on conditions and how often you turn it, this can take anywhere from two to six months. Material at the bottom of the pile finishes first. To harvest, pause adding new material and let the pile fully break down, or use a bin with a bottom access door to pull from the bottom while adding to the top.
Spread finished compost 1 to 2 inches deep over garden beds, work it into planting holes, or mix it into container potting soil. It improves drainage in clay soils and water retention in sandy ones - a genuine all-purpose soil booster.
Composting results vary based on climate, materials used, and how actively the pile is managed. This article is for general informational purposes only.
The content on this site is for informational purposes only and is not a substitute for professional advice. Always consult a qualified professional for guidance specific to your situation.