

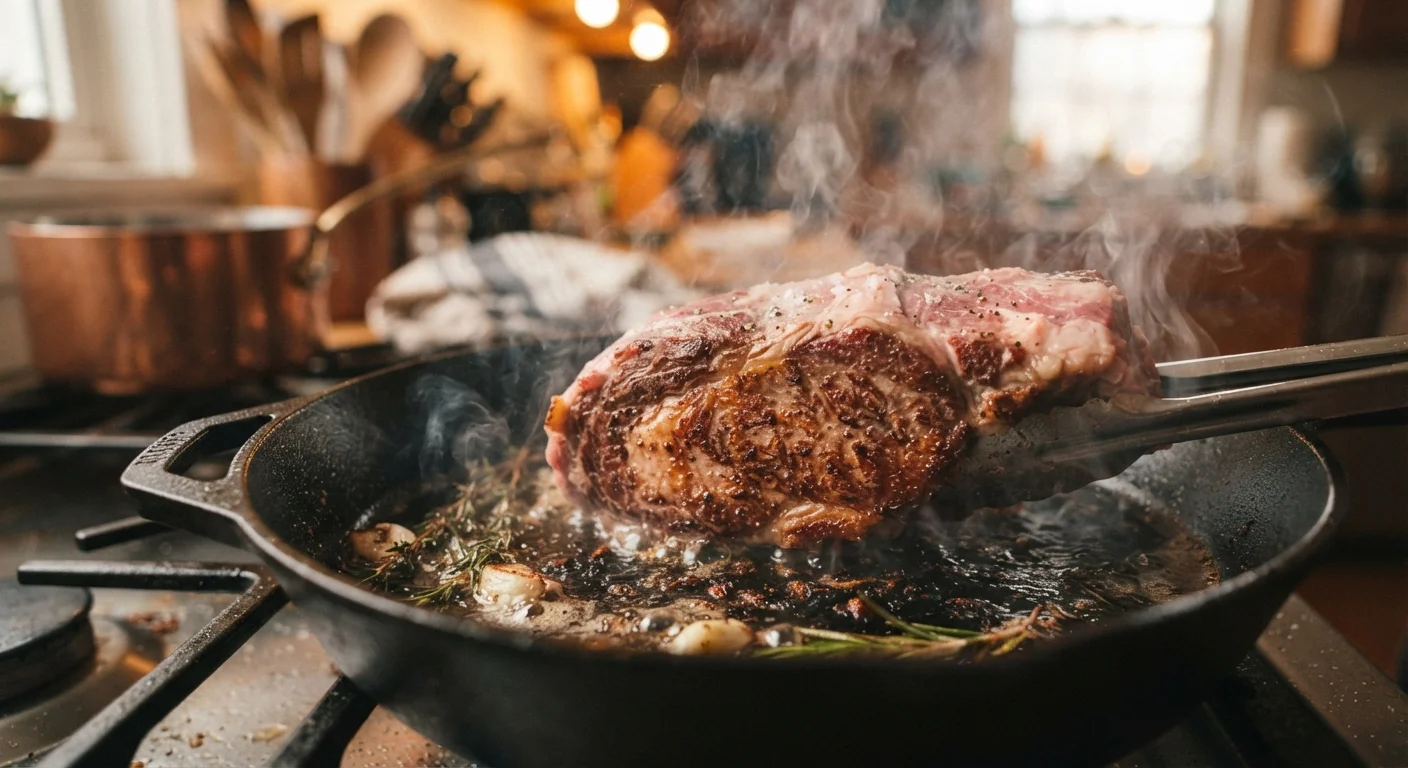
Why Searing Works (And What It's Not Doing)
There's a long-standing kitchen myth that searing "seals in juices." It doesn't - and food science has been pretty clear on that for a while. What searing actually does is trigger the Maillard reaction, a chemical process that occurs when proteins and sugars on the meat's surface are exposed to high heat. The result is a deeply browned, complex-tasting crust that adds enormous flavor.
That crust also creates contrasting texture - something a slow braise or oven roast alone can't replicate. Think of a sear as the flavor foundation of the dish, not a moisture-retention trick.
Understanding this distinction matters because it changes how you approach the technique. You're not racing to lock something in; you're building something on the surface. That shift in thinking tends to make the whole process feel less pressured.
If you're curious how searing differs from other quick-heat methods, our breakdown of sauté, stir-fry, and pan-fry explains how heat, fat, and motion set each technique apart.
What You Need Before You Start
A professional kitchen has commercial burners that crank out serious BTUs. Your home stove doesn't - but the right pan goes a long way toward closing that gap.
Cast iron or stainless steel skillet
Retains and distributes heat evenly, essential for maintaining the high temperature needed for a proper sear.
High smoke-point oil
Oils like refined avocado, vegetable, or grapeseed oil withstand searing temperatures without burning or smoking excessively.
Kitchen tongs
Allow you to flip and handle meat safely without piercing the surface and releasing juices.
Paper towels
Used to pat the meat surface completely dry before seasoning - a critical step for crust formation.
Instant-read meat thermometer
Takes the guesswork out of doneness, especially useful for thicker cuts finished in the oven after searing.
Splatter screen
Reduces oil splatter during searing without trapping steam, keeping your cooktop cleaner.
Good prep also makes a real difference. Having everything ready before heat hits the pan keeps you from fumbling mid-sear. The mise en place habit is worth adopting here: season your meat, have your oil measured, and set a plate nearby before you turn on the stove.
How to Sear Meat Step by Step
Pat the meat completely dry
Use paper towels to thoroughly blot all surfaces of the meat - top, bottom, and sides. Any visible moisture will convert to steam on contact with the hot pan, preventing the crust from forming. If time allows, leave the meat uncovered on a rack in the refrigerator for 30-60 minutes beforehand; the air circulation dries the surface even further.
Bring the meat closer to room temperature
Take the meat out of the refrigerator about 20-30 minutes before searing. A very cold piece of meat drops the pan temperature dramatically the moment it makes contact, slowing the crust-forming process. This step is especially helpful for thicker cuts like steaks or pork chops.
Preheat the pan - longer than you think
Place your cast iron or stainless steel pan over medium-high to high heat and let it preheat for 2-3 minutes before adding anything. The pan should feel intensely hot when you hold your hand a few inches above the surface. A properly preheated pan is the single biggest factor separating a good sear from a pale, steamed result.
Add oil and let it heat through
Add just enough high smoke-point oil to coat the bottom of the pan - usually a tablespoon or two. Swirl to distribute and wait until the oil begins to shimmer and ripple slightly. That shimmer indicates the oil is hot enough. Don't use butter alone at this stage; it will burn before reaching searing temperature.
Place the meat and leave it alone
Lay the meat gently away from you into the pan to avoid splatter. Press it lightly to ensure full contact with the surface. Then - do nothing. Don't move it, don't press it repeatedly, don't check underneath every 20 seconds. Let the heat do the work. For a 1-inch steak, expect roughly 2-4 minutes per side depending on your heat level and the cut.
Flip once and sear the other side
When the meat releases cleanly, flip it using tongs. Sear the second side using the same approach - no moving, no pressing. For cuts with fat caps or edges, use the tongs to hold the meat on its side briefly to render and brown those surfaces too. This adds flavor and texture that you'd otherwise miss.
Rest the meat before cutting
Transfer the meat to a cutting board or plate and let it rest for at least 5 minutes - longer for thicker cuts. Cutting immediately causes the internal juices to run out onto the board rather than staying in the meat. The rest period makes a noticeable difference in how moist and flavorful the final result is.
Once your sear is done, let the meat rest before slicing - even just a few minutes helps the interior redistribute heat more evenly. If you're finishing a thicker cut in the oven after searing, use a meat thermometer rather than guessing.
Common Mistakes and How to Avoid Them
Most failed sears trace back to one of three problems: wet meat, a cold pan, or an overcrowded surface. Each one prevents the Maillard reaction from happening properly.
- Wet surface: Any moisture on the meat turns to steam on contact, dropping the pan temperature and essentially steaming the meat instead of searing it.
- Cold pan: Adding food before the pan is fully hot means the meat sits in warming fat rather than hitting a blast of dry heat. Protein sticks, and the crust never forms properly.
- Crowding: Multiple pieces packed together trap steam between them. Leave space - cook in batches if needed.
- Constant movement: Poking and prodding disrupts crust formation. A properly seared piece of meat will release from the pan on its own when it's ready to flip.
Ventilation Matters When Searing at Home
Searing produces significant smoke, even with the right oil. Run your range hood fan at its highest setting before you start, and consider opening a nearby window. Without adequate ventilation, smoke alarms may trigger and the lingering smell can be difficult to clear. A splatter screen helps with mess but doesn't reduce smoke - only ventilation does.
If you're just building out your kit and wondering which pans are actually worth having, our first-kitchen equipment guide covers the essentials without overcomplicating it.
The content on this site is for informational purposes only and is not a substitute for professional advice. Always consult a qualified professional for guidance specific to your situation.