

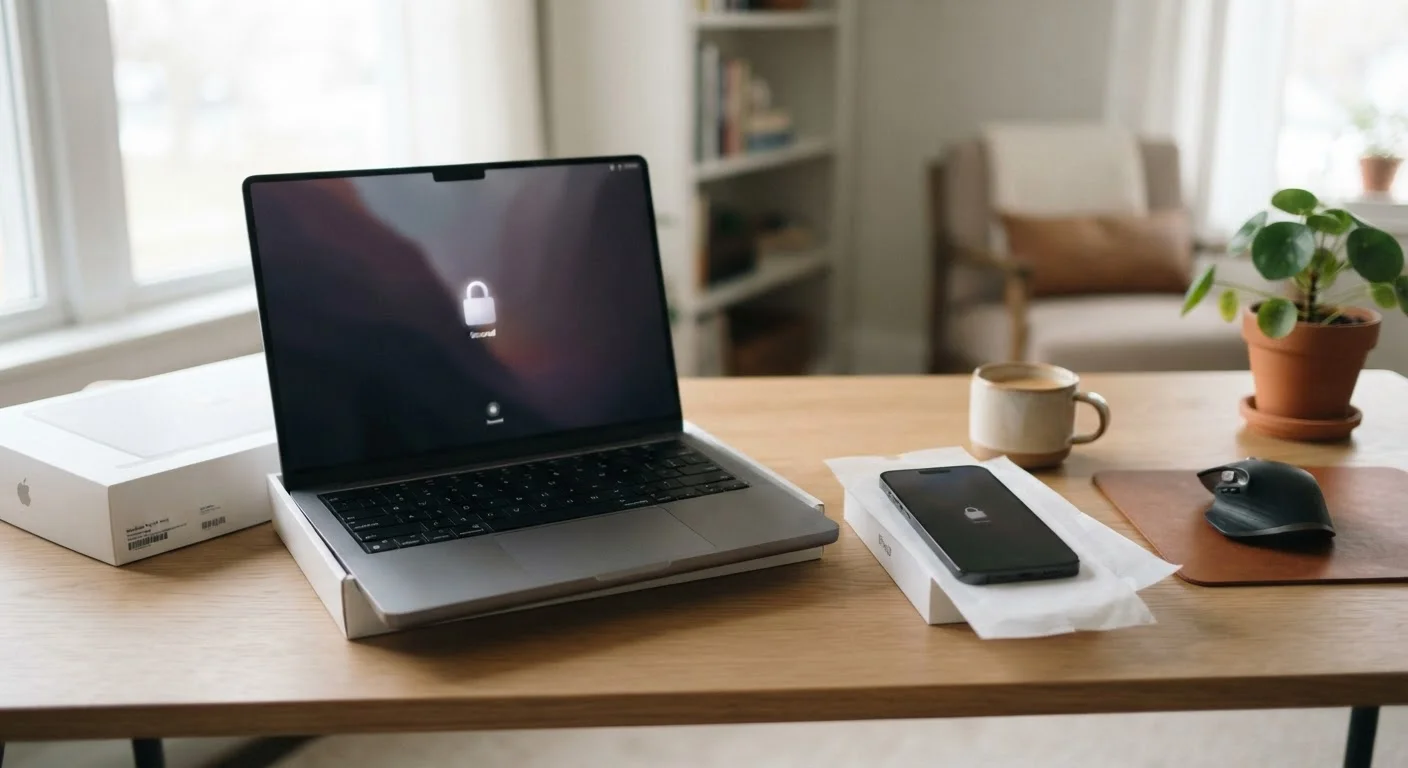
Why the First Setup Session Matters
Most people unbox a new device and immediately start downloading apps, signing into accounts, and sharing photos. It feels intuitive - the device is new, so it must be clean and safe. But a factory-fresh device is not a secured device. It may be running outdated software, lack encryption, or have permissive default settings that leave your data exposed from the first login.
The steps below take less than an hour. Done once, they form a durable foundation that protects everything you do on the device afterward. If you're also switching from an older phone, our data transfer walkthrough covers how to move your information safely before you begin.
Set Up Security Before Signing In Anywhere
Resist the urge to log into email, banking, or social media before completing your security setup. If a vulnerability exists on an unconfigured device, credentials entered during that window could be exposed. Take 20-30 minutes to work through the steps below first - then sign in to your accounts.
Here's what to do - and what to have ready before you start.
What you will need
What You'll Need
You don't need technical expertise to complete this setup - just a few tools and a short block of uninterrupted time. The items below make the process smoother and ensure you don't have to stop halfway through to hunt for a password or account credential.
Home Wi-Fi network
Provides a trusted, private connection for downloading updates and signing into accounts during setup.
Password manager app
Generates and stores strong, unique passwords for every account on the device.
Authenticator app
Generates time-based one-time codes for two-factor authentication, more secure than SMS codes.
Once you have these ready, work through the steps in order. Each one builds on the last, so the sequence matters.
Step-by-Step: Securing Your New Device
Follow each step before signing into personal accounts or installing third-party apps. Skipping ahead is the most common reason these protections never get set up.
Connect to a trusted Wi-Fi network
Before anything else, connect your device to a known, password-protected Wi-Fi network - ideally your home network. This ensures the data transmitted during setup, including account credentials and system updates, travels over a private connection rather than an open one.
Install all available software updates
New devices often ship with software that is already weeks or months old. Go to your device's settings and check for system updates immediately. On most phones and laptops, this is found under Settings > General > Software Update (iOS/macOS) or Settings > Windows Update (Windows). Install everything available before proceeding.
Updates frequently contain patches for known security vulnerabilities - leaving them uninstalled is like locking your door but leaving a window open.
Set a strong passcode or login password
Choose a password or PIN that is long and unpredictable. For phones, a six-digit PIN is the minimum - but an alphanumeric passcode is considerably stronger. For laptops, use a password of at least 12 characters combining letters, numbers, and symbols.
Avoid obvious patterns: birthdays, repeating digits (111111), or sequential numbers (123456) are among the first combinations an attacker will try. If you are using a password manager, let it generate a strong password and store it securely.
Enable screen lock and full-device encryption
Set your screen to lock automatically after a short idle period - one to two minutes is reasonable. On most devices, this is under Settings > Display > Screen Timeout or similar. This limits the window of opportunity if your device is left unattended.
Encryption scrambles the data on your device so it cannot be read without your passcode. On iPhones, encryption is enabled automatically when you set a passcode. On Android and Windows, check under Settings > Security or Privacy to confirm it is active.
Enable two-factor authentication on key accounts
Once your device is secured, enable two-factor authentication (2FA) on your primary accounts - especially email, your device's linked account (Apple ID, Google, or Microsoft), and any financial or health apps. With 2FA, a stolen password alone is not enough to access your account; a second verification step is required.
An authenticator app provides stronger protection than SMS-based codes, though either is significantly better than no 2FA at all. For a deeper explanation of how this works, see our guide to two-factor authentication.
Turn on Find My Device and remote wipe
Enable the built-in device-tracking feature: Find My on Apple devices, Find My Device on Android, or Find My Device in your Microsoft account settings. This allows you to locate, lock, or remotely erase your device if it is ever lost or stolen.
Remote wipe is a last resort, but having it configured now means you will never be in a situation where a lost device becomes a data breach because you never set it up.
Review app permissions and privacy settings
Before adding apps, explore your device's privacy settings. On both iOS and Android, you can control which apps have access to your location, microphone, camera, and contacts. Set these to Ask Every Time or While Using rather than granting permanent access.
This is easier to manage proactively - before dozens of apps are installed - than to audit retroactively later. On laptops, check Privacy & Security settings for similar controls over webcam and microphone access.
Use a Password Manager From Day One
A password manager stores complex, unique passwords for every account so you never have to remember them. Setting one up on a new device before you add accounts means every login is protected from the start. Most reputable password managers work across multiple devices, so your credentials stay in sync.
After Setup: Building Good Habits
Securing your device at setup is a strong start, but digital security is a practice, not a one-time event. A few ongoing habits make a significant difference:
- Don't ignore update prompts. When your device notifies you of an available update, install it promptly rather than dismissing it repeatedly.
- Be selective with app installs. Only download apps from official stores (App Store, Google Play, Microsoft Store) and review the permissions they request before granting them.
- Audit your accounts periodically. Check which devices are signed into your email and main accounts every few months. Remove any you don't recognise.
For a broader look at staying safe as you browse, communicate, and transact online, everyday digital security habits offers practical next steps. And if you're thinking ahead to eventually passing on this device, our checklist for recycling or reselling a device covers how to remove your data completely when the time comes.
Avoid Public Wi-Fi During Initial Setup
Setting up a new device on an open public network - such as a café or airport hotspot - exposes your login credentials and account data to potential interception. Use your home network or a trusted mobile hotspot instead. If you must use public Wi-Fi later, a VPN (Virtual Private Network) adds a layer of protection.
The content on this site is for informational purposes only and is not a substitute for professional advice. Always consult a qualified professional for guidance specific to your situation.