

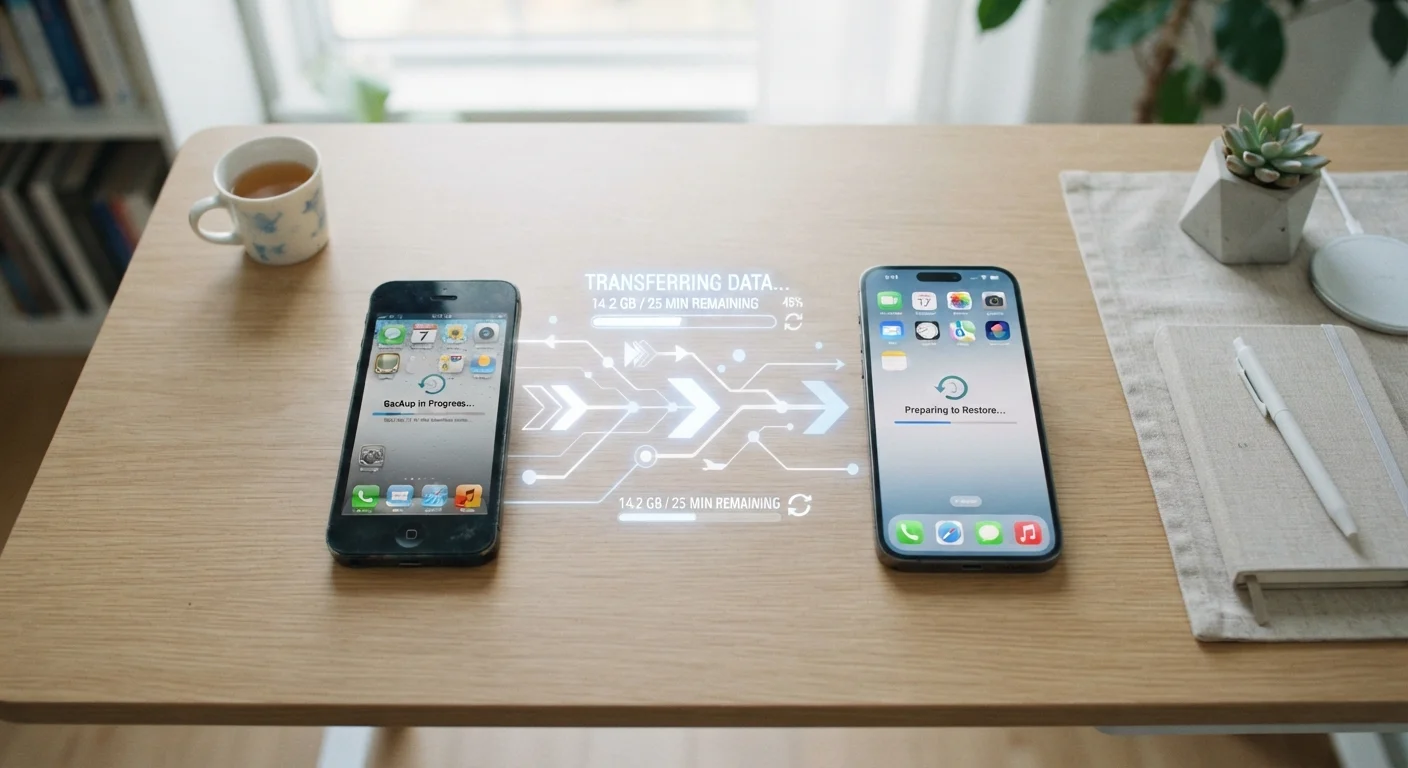
Why Data Loss Happens During Phone Upgrades
Getting a new smartphone feels exciting - until you realize your contacts, photos, or app settings didn't make it across. Data loss during a phone switch usually happens for one of three reasons: the backup wasn't completed before the transfer, some data types aren't covered by automatic sync, or the transfer process was started before the old phone was fully prepared.
Understanding what moves automatically and what needs extra attention is the difference between a smooth upgrade and a stressful afternoon. Both Android and iPhone have significantly improved their built-in migration tools, but there are still categories - like authenticator app codes, downloaded music, or locally stored files - that can slip through the cracks. See our guide on what to check before switching phones for a detailed rundown of the most commonly missed items.
What you will need
Step-by-Step: Backing Up and Transferring Your Data
Follow these steps in order. Skipping ahead - particularly past the backup stage - is the most common cause of preventable data loss.
Charge Both Phones to at Least 80%
A backup or transfer that dies mid-process can corrupt your data. Plug both devices in before you start and wait until each reaches at least 80% battery. If you're using a cable-based transfer method, keep them plugged in throughout the entire process.
Back Up Your Old Phone
On iPhone: Go to Settings → [Your Name] → iCloud → iCloud Backup → Back Up Now. Wait for the progress bar to complete. You can also back up to a computer using Finder (Mac) or iTunes (Windows).
On Android: Go to Settings → System → Backup → Back up now. The exact path varies slightly by manufacturer, but the option is typically under System or Accounts. Google One backup covers contacts, app data, call history, device settings, and SMS.
Handle Two-Factor Authentication Apps First
This step is critical and often overlooked. If you use an authenticator app (such as Google Authenticator or a similar tool), your login codes are often stored only on your current device. Before switching phones, either transfer those accounts through the app's built-in export feature or save your backup codes from each service. Losing access to your authenticator without doing this can lock you out of important accounts.
Use the Built-In Transfer Tool During New Phone Setup
When you power on your new phone for the first time, both platforms offer a guided migration flow:
- iPhone to iPhone: Use Quick Start, which uses a Bluetooth and Wi-Fi connection to transfer data directly, or restore from your iCloud or computer backup during the setup screens.
- Android to Android: The setup wizard will offer to copy data from your old phone using a cable or Wi-Fi. Google's built-in tool covers most app data and settings.
- Switching between platforms (iPhone ↔ Android): Apple's Move to iOS app helps Android users migrate to iPhone. Going the other direction is more manual - contacts and photos sync through Google or your preferred cloud service, but app purchases do not transfer.
Re-Enable SIM or eSIM on the New Device
Once data transfer is complete, move your physical SIM card to the new phone, or contact your carrier to transfer your eSIM (a digital SIM built into the phone). Without this step, the new phone won't have cell service on your existing number. Most carriers allow eSIM transfers through their app or website, though some require a brief call to customer support.
After the Transfer: What to Verify
Once setup completes, don't assume everything made it over. Run through this checklist before doing anything else with your old phone:
- Contacts: Open the contacts app and scroll through. Are your most important entries there?
- Photos: Check your camera roll and confirm recent photos appear. If you use cloud photo libraries (Google Photos or iCloud), make sure syncing is enabled.
- Apps: Most apps reinstall automatically, but some require you to log back in. Check banking and email apps first.
- Two-factor authentication: If you use an authenticator app, verify it's generating valid codes before you consider the transfer complete.
- Text messages: On iPhone, iMessage history transfers via iCloud backup. On Android, SMS history may require a third-party backup app depending on your carrier.
It's also worth remembering that deleting an app isn't the same as erasing your account or its stored data - our article on what happens when you delete an app explains this in detail, which matters if you're cleaning up your old device afterward.
Once you've verified everything, consider reviewing your security settings before you start using the new phone day-to-day. Our guide to setting up a new device securely walks through the most important configurations to make in the first session.
Hold Onto Your Old Phone Briefly
Don't trade in or factory-reset your old phone until you've used the new one for at least two to three days. This gives you a window to notice anything that didn't transfer correctly and retrieve it while you still have access. Once an old phone is wiped or returned, recovery options become very limited.
The content on this site is for informational purposes only and is not a substitute for professional advice. Always consult a qualified professional for guidance specific to your situation.