

Summary
22 items · 1-3 hours (depending on room size and condition)
Why Prep Work Makes or Breaks a Paint Job
Most homeowners assume a fresh coat of paint will fix whatever is wrong with a wall. In reality, paint is a coating - it reveals every flaw underneath and amplifies any surface problem. Peeling, bubbling, and streaky coverage are almost always the result of skipped preparation, not inferior paint.
Working through a structured checklist before you crack open a can keeps you from making costly mistakes. It also helps you spot issues - like moisture damage or crumbling drywall - that need to be addressed before any paint goes on. If you've noticed signs of dampness in the room, check out signs your home has a moisture problem before proceeding - painting over a moisture issue will only trap it.
Use the checklist below as a walkthrough on the day before you plan to start painting.
Room Assessment
Surface Repair and Cleaning
Room Preparation
Conditions and Safety
Paint and Material Checks
Tools and Supplies to Gather First
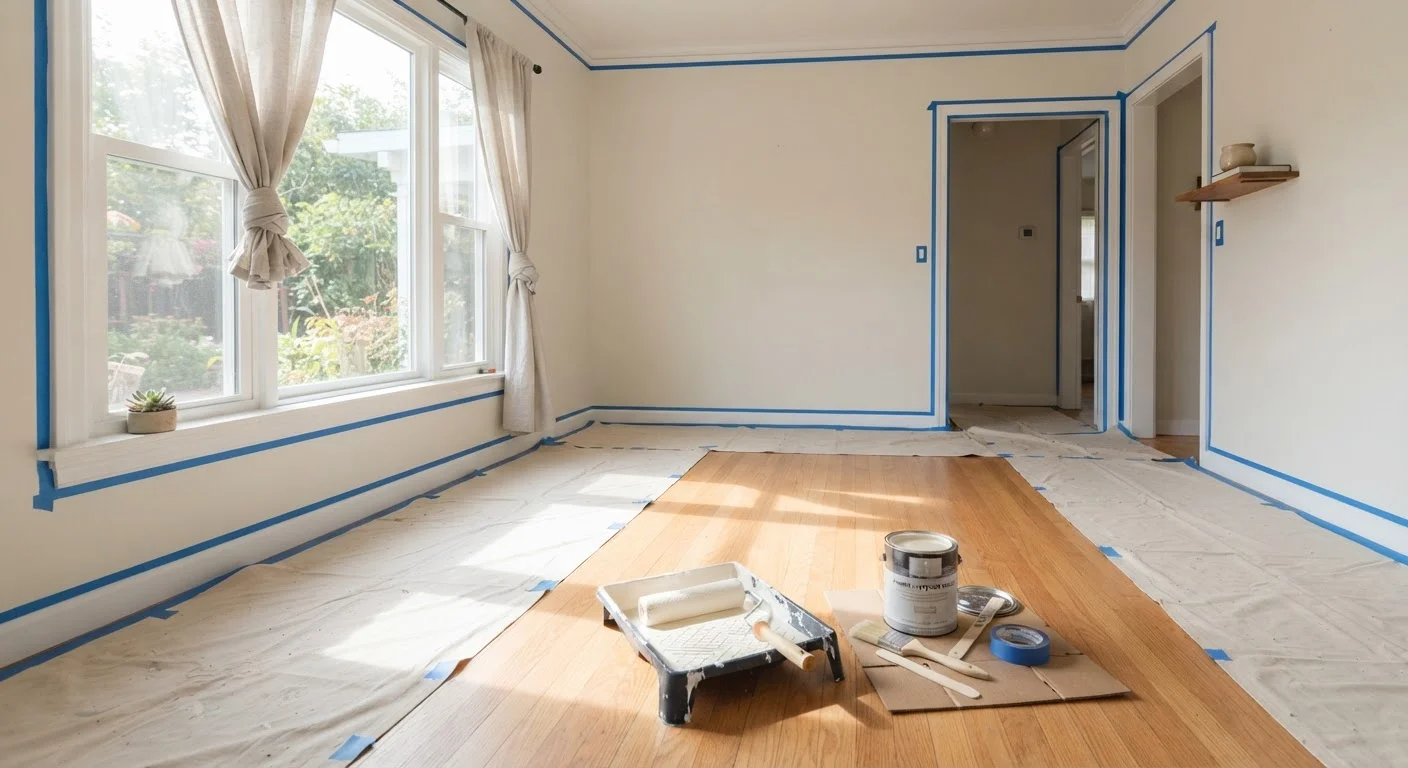
Having the right materials on hand before you start prevents mid-job runs to the hardware store, which are where timelines fall apart. Gather everything listed below before moving on to any prep step.
Painter's tape
Masks trim, baseboards, and ceiling edges to keep paint lines clean and sharp.
Drop cloths
Protects floors and furniture from drips and spills throughout the job.
Spackling compound and putty knife
Used to fill holes, dents, and minor cracks before painting.
Sandpaper (120- and 220-grit)
Smooths patched areas and scuffs glossy surfaces for better adhesion.
Paint roller and roller tray
Applies paint evenly over large wall surfaces efficiently.
Angled paintbrush (2-2.5 inch)
Used for cutting in along edges, corners, and trim where rollers can't reach.
Primer
Seals new drywall, stained areas, or dramatic color changes before topcoat application.
Plastic sheeting
Covers large built-in fixtures or furniture that can't be removed from the room.
Once you've confirmed your paint finish, keep in mind that the sheen level affects both how the room looks and how easy it is to clean. If you're unsure which finish suits your space, interior paint finishes explained breaks down what each option is designed for.
What to Do Right After You've Finished Prepping
Once you've worked through the checklist and your room is prepped, give yourself a final 10-minute walk-around before you open a can. Look for any missed tape gaps, patches that haven't fully dried, or areas where plastic sheeting has pulled loose. Starting with a fully settled, dry surface makes the painting itself go faster and look far more professional.
Never Paint Over Moisture or Mold
If you find soft drywall, discolored patches, or a musty smell during your prep, stop and investigate before applying any paint. Painting over an active moisture problem traps the issue behind the wall and typically leads to bubbling, peeling, and potential structural damage down the road. Address the source of the moisture first, allow the area to fully dry, and use an appropriate primer before repainting.
Prep time isn't wasted time - it's the investment that determines how long your paint job lasts and how good it looks a year from now.
The content on this site is for informational purposes only and is not a substitute for professional advice. Always consult a qualified professional for guidance specific to your situation.