

Why the First Setup Session Matters
The way you set up a laptop in its first hour shapes how secure, fast, and reliable it will be for years to come. Many people skip important steps — like installing updates or setting a strong password — because they're eager to start using their new device. Those small shortcuts can lead to real problems down the line, from slow performance caused by bloatware to security risks from unpatched software.
This walkthrough is designed for first-timers. It assumes no prior technical knowledge, and every step is explained in plain language. If you also need to get your home internet connection sorted before starting, our complementary guide on setting up a home network can help you get that in place first.
Run Updates Before Anything Else
New laptops often ship with outdated software, which can include security vulnerabilities. Running system updates in your very first session — before browsing or entering passwords — is the single most effective thing you can do to protect your device. Do not skip or postpone this step.
Before you begin, gather everything you'll need:
What you will need
What You'll Need for Setup
Having the right items on hand before you start will prevent frustrating interruptions mid-process. Here's a quick overview of what to have ready:
Wi-Fi network name and password
Required to connect your laptop to the internet during setup.
Power adapter and outlet
Keep the laptop plugged in throughout setup to avoid interruptions from a low battery.
An email address
Needed to create or sign into an operating system account (Microsoft or Apple ID).
External hard drive or USB drive
Useful for creating an initial backup of your laptop after setup is complete.
Keep Your Setup Session Short and Focused
It's tempting to explore everything at once, but new users get overwhelmed when they try to do too much in one sitting. Focus on the steps in this guide first. You can customize wallpapers, download apps, and explore settings over the next few days once the essentials are locked in.
Step-by-Step Setup Instructions
Follow these steps in order. Each one builds on the last, so it's best not to jump ahead. Most steps take only a few minutes; the update process in Step 5 is the longest part of the session.
Charge the laptop before powering it on
Before pressing the power button, plug your laptop into a wall outlet using the included adapter. Allow it to charge for at least 20–30 minutes. Starting setup with a very low battery risks the device shutting down mid-process, which can occasionally cause software problems.
Power on and choose your language and region
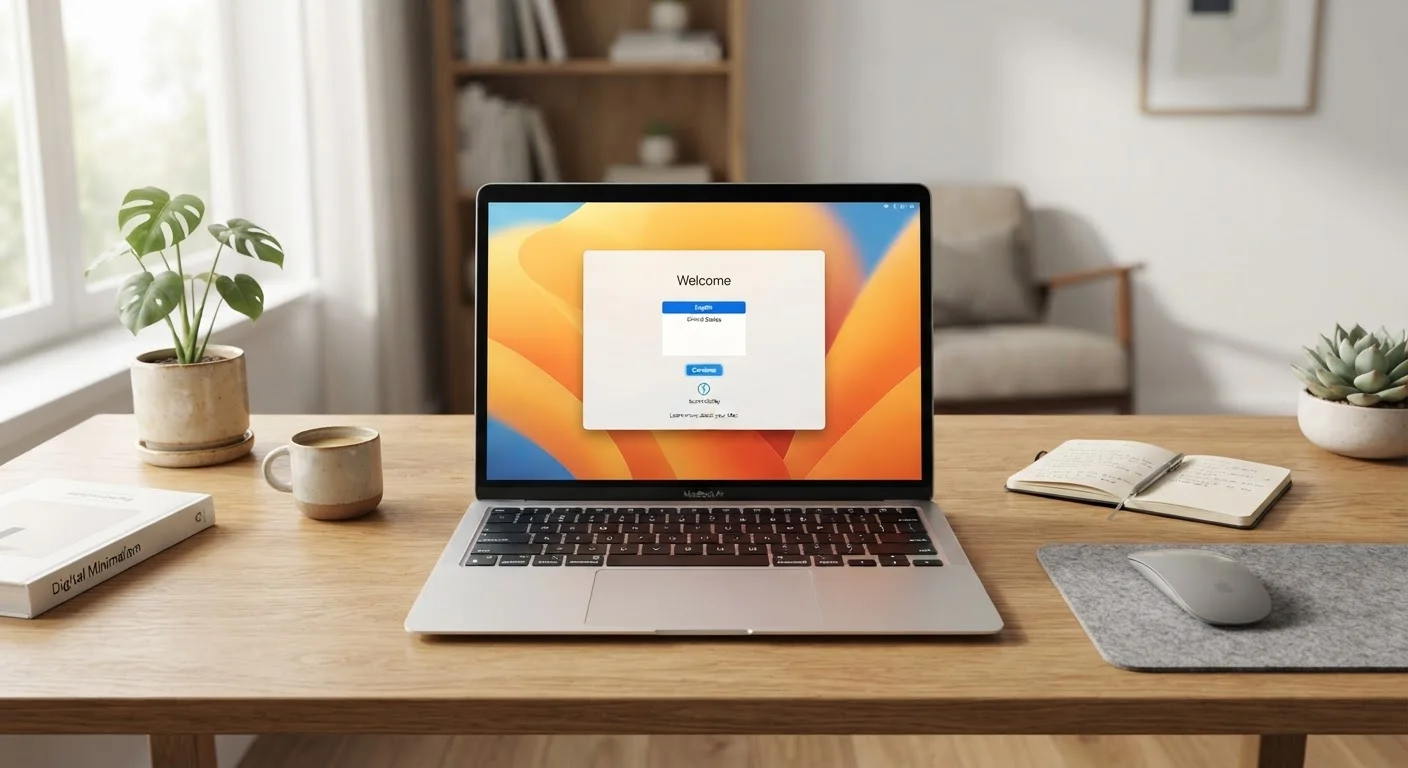
Press the power button. Your laptop will start its first-boot setup wizard — a guided series of screens that walks you through initial configuration. Select your preferred language, country, and keyboard layout. These choices affect how your system displays dates, currencies, and text input. You can usually change these later in Settings if needed.
Connect to your Wi-Fi network
When prompted, select your home Wi-Fi network from the list of available networks and enter the password. A stable internet connection is required to complete account sign-in, download updates, and activate your operating system. If you need help identifying your network or setting one up, see our guide on getting online for the first time.
Create or sign into your account
Windows laptops will prompt you to sign in with a Microsoft account; Macs will ask for an Apple ID. If you already have one, enter your credentials. If not, you'll be offered an option to create a new account — you'll need a working email address to do this. These accounts enable features like cloud backup, app downloads, and device recovery if your laptop is lost.
Choose a strong, unique password — at least 12 characters with a mix of letters, numbers, and symbols — and store it somewhere safe.
Run all available system updates
Once you reach the desktop, go to your system's update settings — on Windows, open Start > Settings > Windows Update; on a Mac, go to Apple menu > System Settings > General > Software Update. Download and install all available updates, then restart if prompted. This process may take 15–30 minutes depending on your internet speed.
Enable screen lock and basic security settings
Set your laptop to lock automatically after a short period of inactivity (5–10 minutes is reasonable). On Windows, go to Settings > Accounts > Sign-in options. On a Mac, go to System Settings > Lock Screen. Also confirm that the built-in firewall is turned on — this is a basic filter that helps block unauthorized connections from the internet.
Install only the software you need
Avoid the temptation to install every free app you come across. Start with only the essentials: a web browser you prefer (if the default isn't your choice), a PDF viewer, and any productivity tools your work or study requires. Many new laptops come with pre-installed bloatware — software you didn't ask for. Feel free to uninstall programs you don't recognize or need via Settings > Apps on Windows or by dragging app icons to the Trash on a Mac.
Set up a backup method
Even a brand-new laptop can develop problems. Set up at least one backup solution from day one. Cloud options like OneDrive (built into Windows) or iCloud (built into Macs) automatically back up your documents and photos. If you have an external hard drive, you can also use Windows Backup or Mac's Time Machine for a full local backup. Having both options is ideal.
Avoid Public Wi-Fi During Setup
Setting up your laptop on an unsecured public Wi-Fi network (like at a coffee shop) exposes your new accounts and passwords to potential eavesdropping. Complete your initial setup on a private home network whenever possible. If home Wi-Fi isn't available yet, check out our guide on setting up a home network first.
After Setup: Your Next Steps
Once your laptop is set up, updated, and backed up, you're in good shape. From here, take a few days to get comfortable with the basics — navigating folders, adjusting your display brightness and sound, and learning the keyboard shortcuts that save the most time.
If you're setting up this laptop because you're starting a new chapter — like a job search — you might find our guide helpful: your first week of job searching walks you through the early steps in plain, actionable terms.
Remember: no one masters a new device in a day. The goal of this walkthrough was simply to get you started on the right foot — securely, clearly, and without getting overwhelmed.
The content on this site is for informational purposes only and is not a substitute for professional advice. Always consult a qualified professional for guidance specific to your situation.