

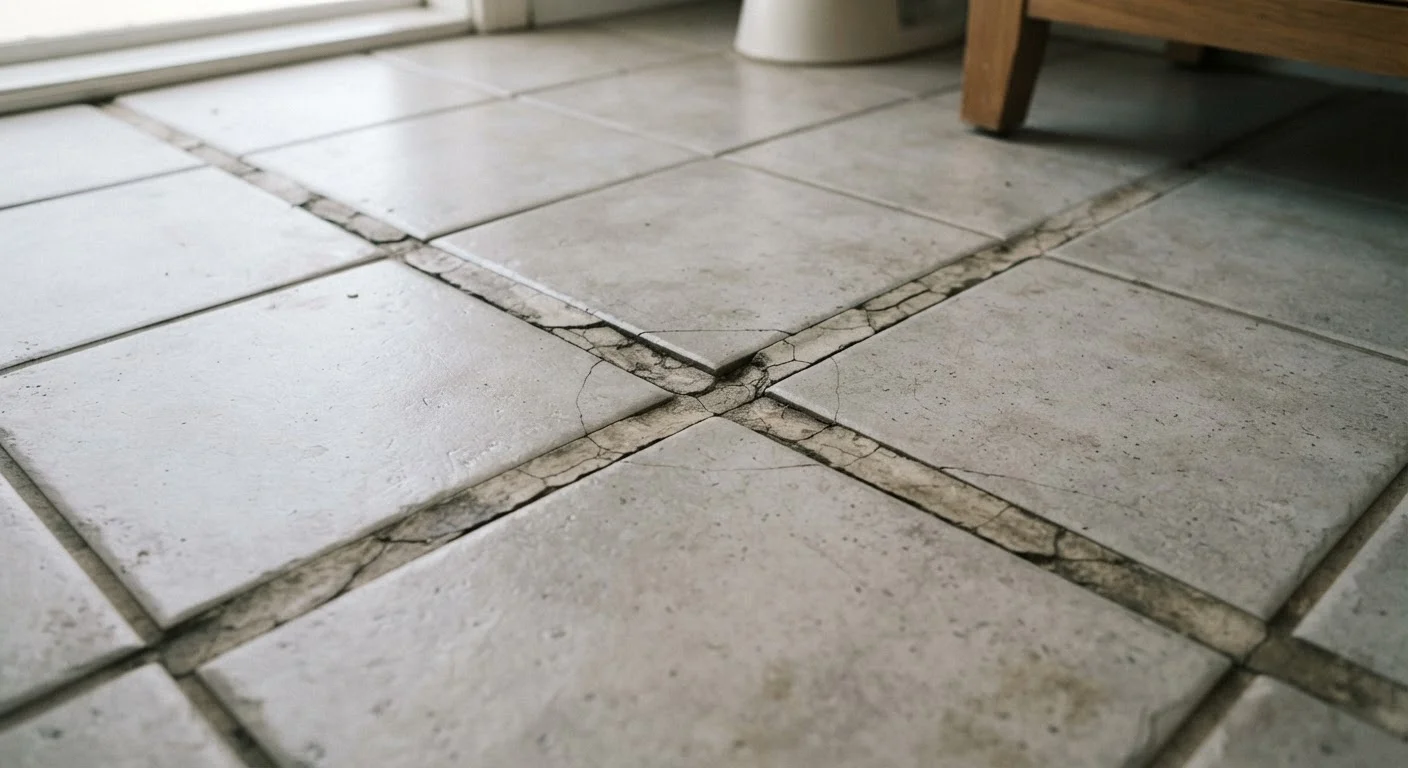
Why the Grout Is Never Really the Problem
Most homeowners assume that when grout cracks, the solution is simply better grout or a more careful application. That assumption leads to a frustrating cycle: regrout, wait a few months, watch the cracks return. The truth is that grout is a rigid material with almost no ability to flex. When the surfaces around it move - even slightly - grout is the first thing to give way.
Think of grout as the messenger. When it cracks, it's telling you something is shifting underneath. That movement could be your subfloor deflecting under foot traffic, a tile that wasn't fully bonded to its substrate, seasonal expansion and contraction of the building materials, or moisture compromising the adhesive layer below. Until that underlying movement is addressed, new grout will crack just as reliably as the old.
Regrouting over a subfloor that deflects (flexes) underfoot.
Why it happens: Homeowners focus on the visible crack and assume it's a surface fix. Subfloor flex is invisible and easy to overlook without a deliberate check.
Skipping movement joints (expansion joints) at corners and perimeters.
Why it happens: Many DIY guides focus on grouting technique and skip the nuance of expansion joints, which are required by industry standards but often omitted in residential repairs.
Installing tile over a substrate that has moisture damage or isn't fully cured.
Why it happens: Wet concrete or damp wood can look dry on the surface while still holding moisture below, causing the mortar bond to weaken over time.
Applying new grout directly over old cracked grout without fully removing the damaged material.
Why it happens: Removing grout is tedious, and it's tempting to press fresh grout into existing cracks as a quick patch. This approach rarely bonds properly.
Using sanded grout in narrow joints or unsanded grout in wide joints.
Why it happens: Many homeowners buy whatever grout is on hand without matching it to the joint width, leading to a mix that shrinks, cracks, or fails to cure properly.
How to Actually Stop the Cycle
Once you've identified which mistake applies to your situation, the repair approach changes significantly. For subfloor deflection issues, reinforcing or sistering the joists beneath the floor - or switching to a thicker substrate like a double layer of plywood topped with cement board - gives the tile a stable platform that doesn't flex. This is structural work that may require a licensed contractor, and in some cases a building permit. Always verify local code requirements before starting.
Don't Ignore a Hollow-Sounding Tile
A tile that produces a hollow or dull thud when tapped has lost its bond to the substrate below. Walking on it can cause it to crack and may damage adjacent tiles. Regrouting around an unbonded tile is a temporary fix at best - the affected tile needs to be removed, the substrate cleaned, and the tile reset properly before regrouting.
For unbonded tiles, the affected section typically needs to come up entirely. A hollow sound when you tap a tile (called a "hollow spot") confirms it has lost its bond. Re-setting those tiles with fresh mortar and adequate back-buttering - spreading mortar on the back of the tile as well as the substrate - gives the bond a much greater surface area to grip.
If your installation lacks movement joints, a tile contractor can help you plan where to cut them in. These joints are filled with a flexible silicone caulk that matches your grout color, not with grout itself. They typically belong in corners, along the perimeter of a floor, and at any change of plane (where a floor meets a wall, for example).
For moisture-related failures, the fix depends on the source. A slow plumbing leak needs a plumber. Condensation issues may require improved ventilation. Surface sealing grout with a penetrating grout sealer after curing helps repel surface moisture but won't compensate for water coming from below.
Before you buy another bag of grout, spend a few minutes tapping tiles, looking for soft spots in the subfloor, and checking corners and perimeter joints for signs of missing or failed caulk. That ten-minute investigation will tell you far more than the grout ever could.
The content on this site is for informational purposes only and is not a substitute for professional advice. Always consult a qualified professional for guidance specific to your situation.